Remove Single Tile From Wall
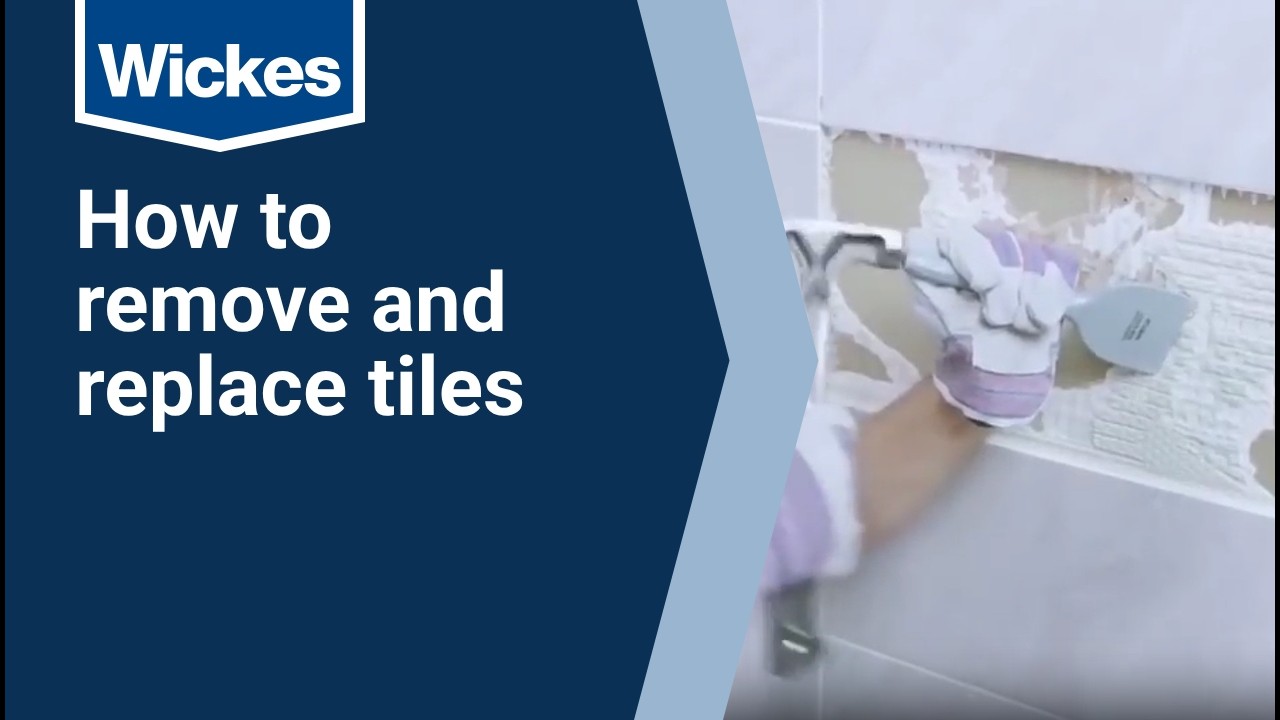
How To Remove And Replace Tiles With Wickes Youtube

How To Remove Ceramic Wall Tile Without Damaging Drywall Home Guides Sf Gate

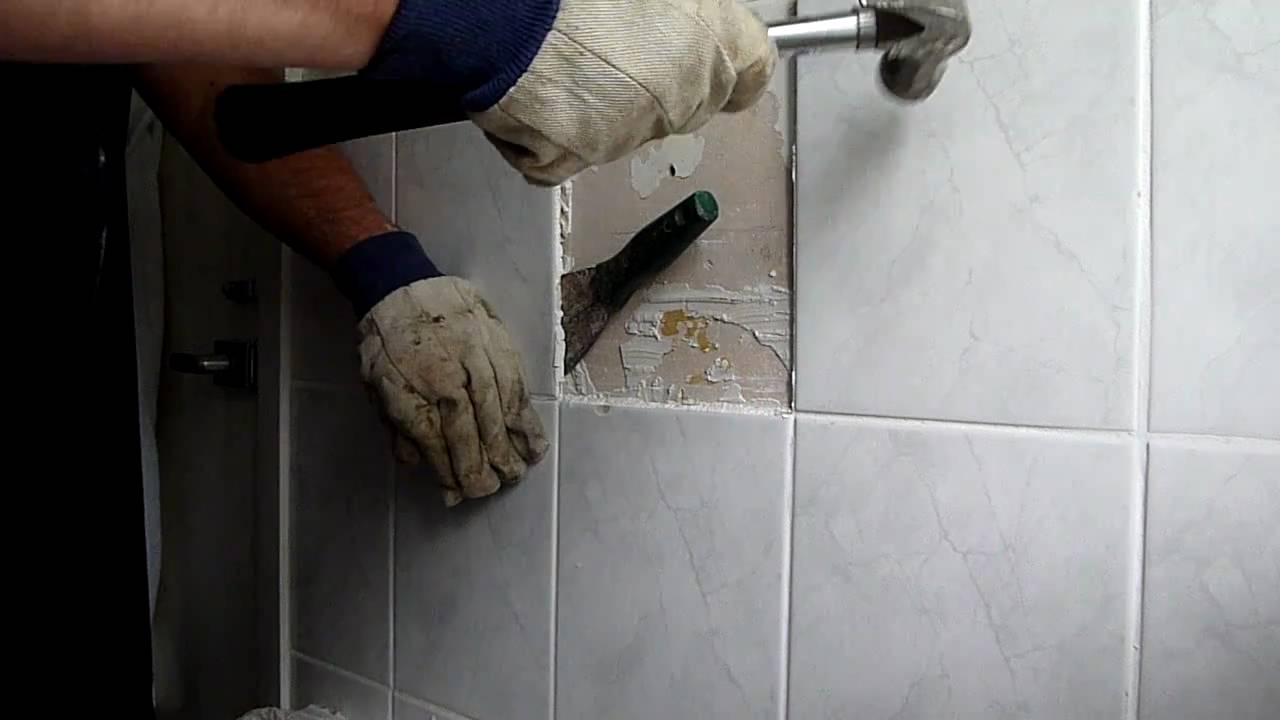
How To Remove Replace One Bathroom Tile Ceramic Tile Repair Youtube
How To Remove Floor Tiles Without Breaking Them Ideas By Mr Right

Removing A Row Of Existing Tile Where Accent Tile Will Go We Used An Oscillating Tool And P Bathroom Tile Designs Master Bathroom Renovation Amazing Bathrooms

Tips On How To Remove Old Shower Tile Ugly Duckling House

Follow the instructions as outlined in step 1 and step 2 for the removal of a damaged tile.
Remove single tile from wall.

How To Remove Wall Tiles 11 Steps With Pictures Wikihow
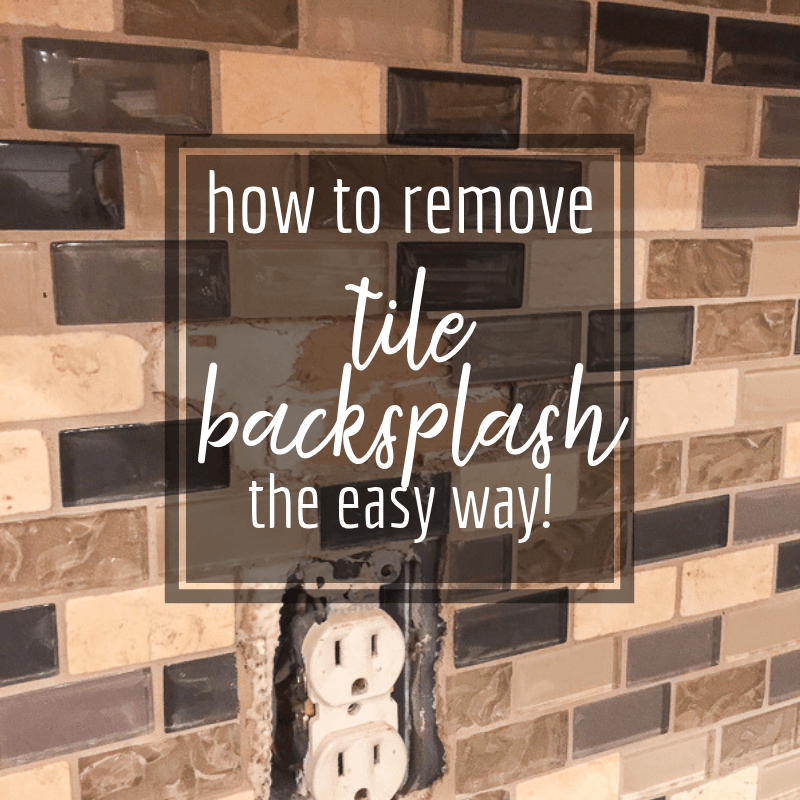
How To Remove Tile Backsplash Like A Pro Twelve On Main

Removing Tile From Bathroom Walls Can Be A Labor Intensive Messy Process And The Work Is Not Over Once Tile Removal Bathroom Wall Tile Removing Bathroom Tile
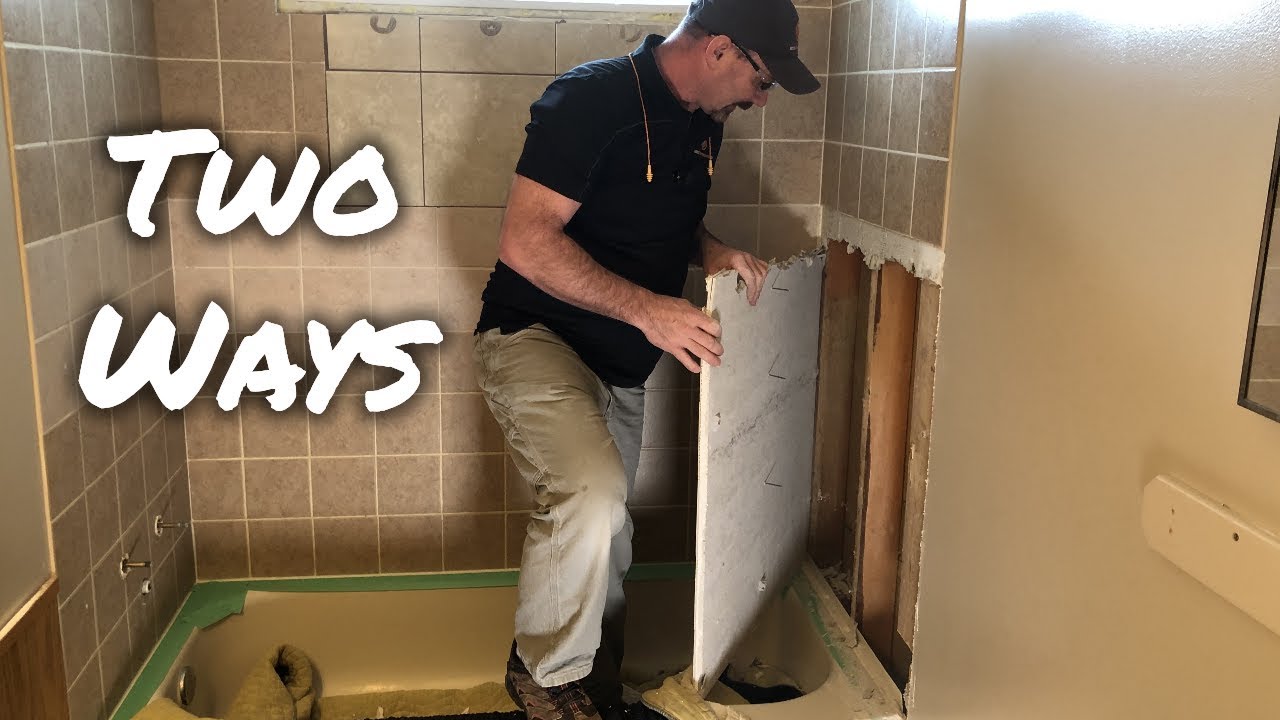
How To Remove Bathtub Shower Wall Tiles Youtube
Source : pinterest.com
